|
|
Post by XxSuperShadicxX on Aug 18, 2013 9:08:59 GMT -5
|
|
|
|
Post by XxSuperShadicxX on Aug 18, 2013 16:33:17 GMT -5
|
|
|
|
Post by Amnimate on Aug 18, 2013 17:38:36 GMT -5
Holy crab that is one amazing model. But on the shoes you should make it a bit wider from the front view and it looks kind of high poly (But since we're in the generation of PS4 and Xbox One, poly count might not be an issue anymore). But I suggest make a low poly base model in 3DS Max and create the fine details in mudbox or zbrush and then export as a normal map. But if you're doing this for film stuff, or just practice, that won't matter  I should seriously start modeling again. With people like you and silverthdx around I'm just ordinary now D: |
|
|
|
Post by XxSuperShadicxX on Aug 18, 2013 21:33:22 GMT -5
Thanks so much, you're still a great modeler; this is only my fourth model (a ninja, head, female body) so I don't really know if that's a good or normal start  . I may edit the shoes a bit more, but I think that the size is fine for now, but I'll keep that in mind and watch a bit more of the anime just to get more references. Also, I actually am using a low-poly base model, this is just a smooth preview and I'm mainly doing it for practice/film purposes. |
|
|
|
Post by XxSuperShadicxX on Aug 18, 2013 21:33:58 GMT -5
|
|
|
|
Post by XxSuperShadicxX on Aug 18, 2013 22:36:37 GMT -5
Fixed the belt. It was so annoying and tedious to do. 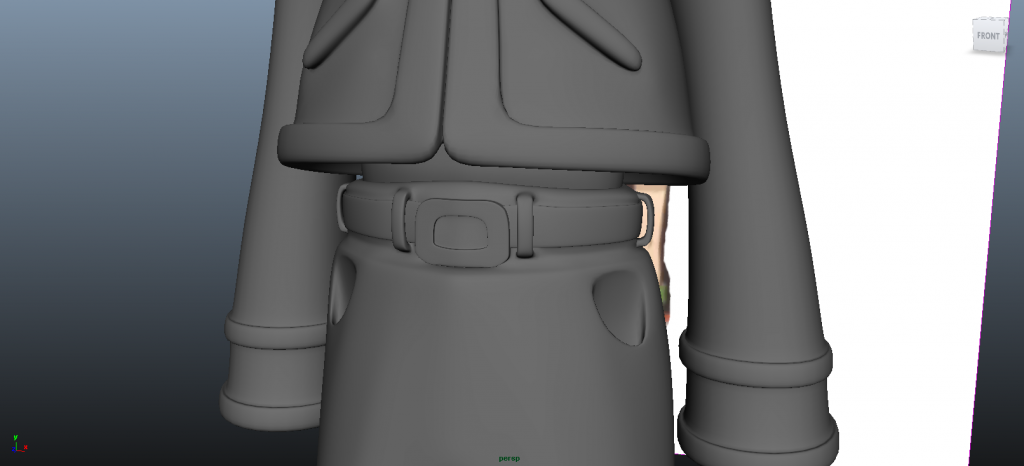 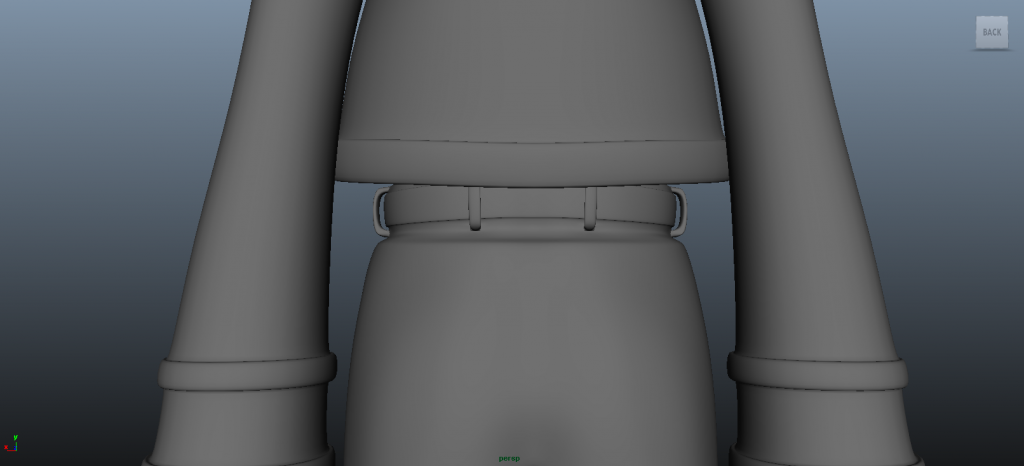 |
|
|
|
Post by XxSuperShadicxX on Aug 20, 2013 1:28:41 GMT -5
This was so annoying and hard to make, and it still looks bad. His head is so weirdly shaped to cater to his head that he'd end up having a triangle. And the jaw is still pretty different (as seen from the side view), along with the ears. Hopefully I can fix it, or leave it like this and have it look good. 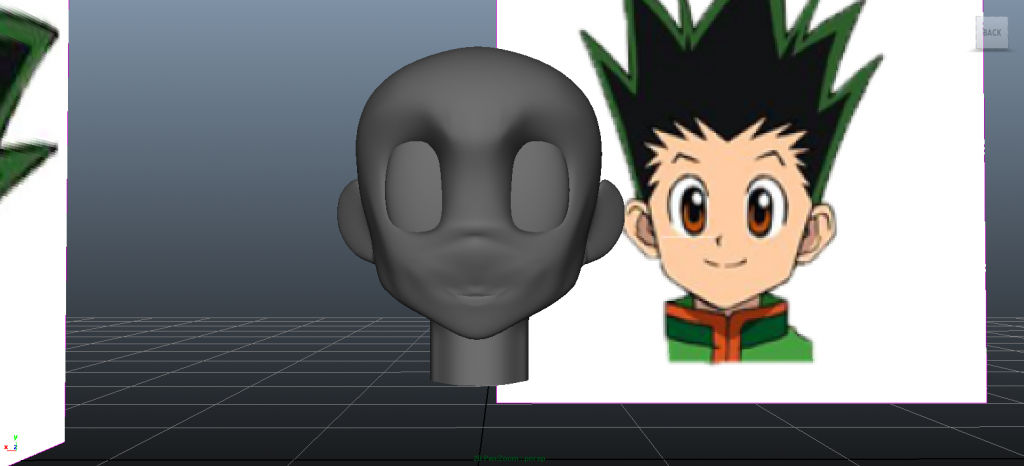 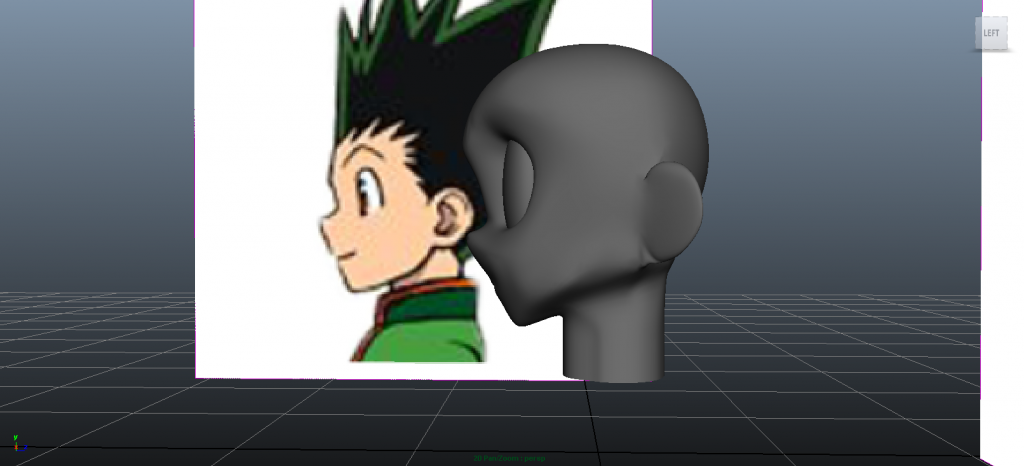 |
|
|
|
Post by Amnimate on Aug 20, 2013 4:30:57 GMT -5
Yeah. the head is always the hardest part. Whenever this happens a good idea is to space-out the vertices a bit more and lower polycount everywhere else. Also, in the side view where his mouth should be pull that out forward a bit. It'll help out with the smooth command Lower poly count by merging two edge loops, removing tris, etc. It's different to every situation. Or if you want to try the lazy but quick way, completely delete the errored parts and patch that up.
|
|
|
|
Post by XxSuperShadicxX on Aug 20, 2013 6:12:24 GMT -5
I made a few edits before you commented. I think I may have forgotten about the mouth so I'll have to return to it. I'm working on the hair now, and I tried multiple ways but I thought this would be the best. The idea is to make a bunch of cones and then try and connect them somehow while preserving their borders. Then I'll smooth it all out and have it look nicer. Here are a few pictures. If you, or anyone else who actually uses this forum knows of a better way or how to connect them, help would be greatly appreciated  . 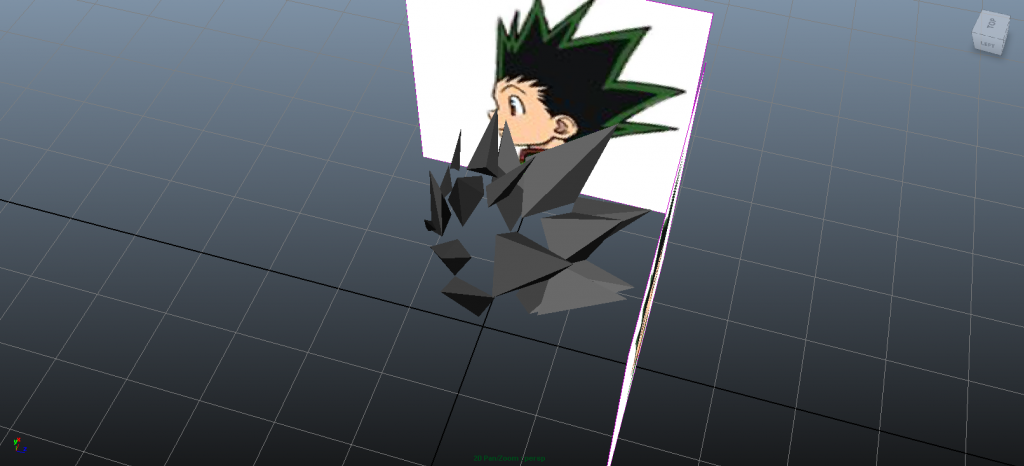 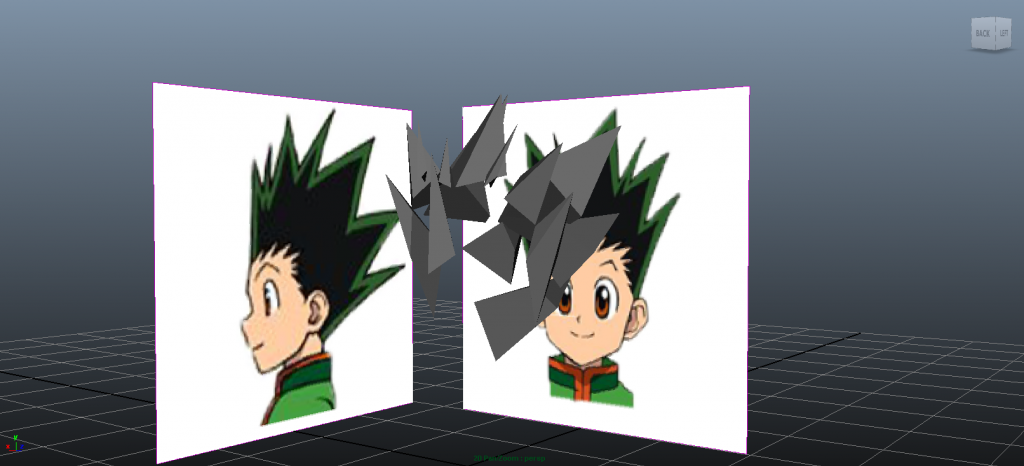 |
|
|
|
Post by XxSuperShadicxX on Aug 20, 2013 6:36:28 GMT -5
Here's an update for the head. 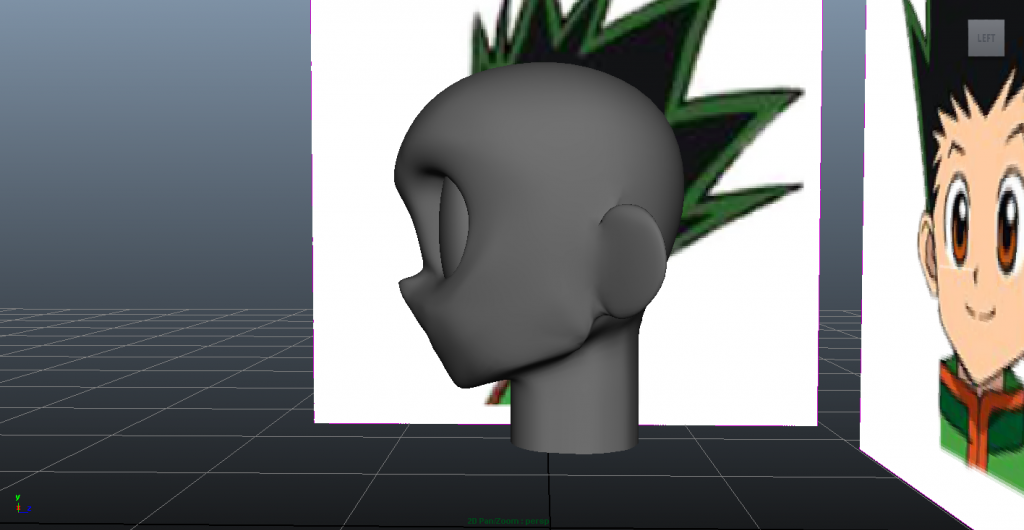 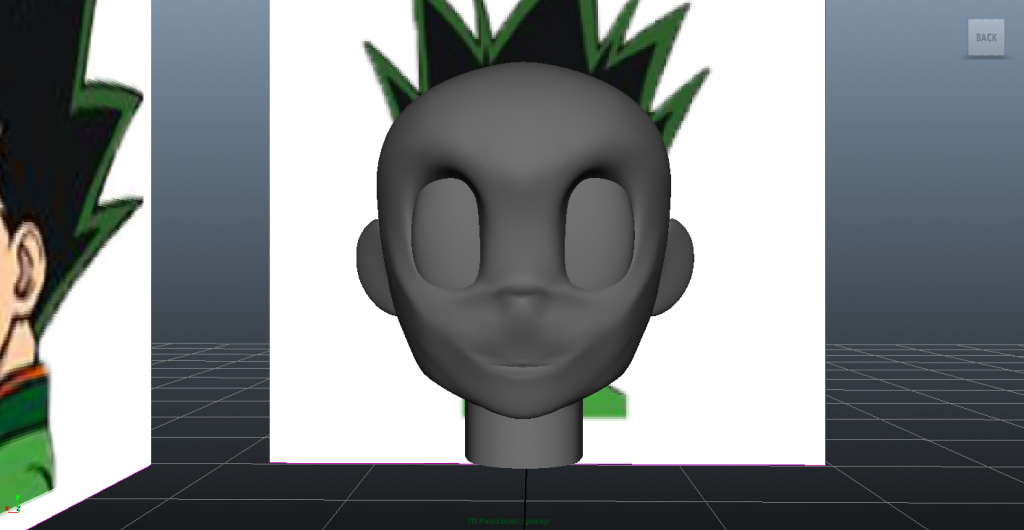 |
|
|
|
Post by Amnimate on Aug 20, 2013 6:59:02 GMT -5
Trust me, the best way to connect them is to not connect them at all  Look at the rips for DBZ or Naruto PS360 games. The hair isn't even connected. Makes it easier to rig, keeps it lower poly, and is easy to edit. I used to always connect the hair mesh on anime characters until I realized it's nearly impossible to edit properly and can't be smoothed without completely messing up. Though, another method I do is make a base mesh around the head and extrude to make the hair. Although, if you're modeling a Sonic type of character you're basically forced to model the hair separately and then connect them. |
|
|
|
Post by XxSuperShadicxX on Aug 20, 2013 8:05:22 GMT -5
Ok, thanks. I tried doing the base mesh withe extruding but that just wasn't working with this. I'll try to just use separate meshes, and then try and use like half a sphere and see if i can connect anything to the sphere.
|
|
|
|
Post by Amnimate on Aug 20, 2013 8:11:34 GMT -5
Honesty, for this type of hair, I suggest making the spikes around the head kind of like a crown and then using cones to fill in the inner spikes. If you don't get what I'm saying look at the hair in this image: 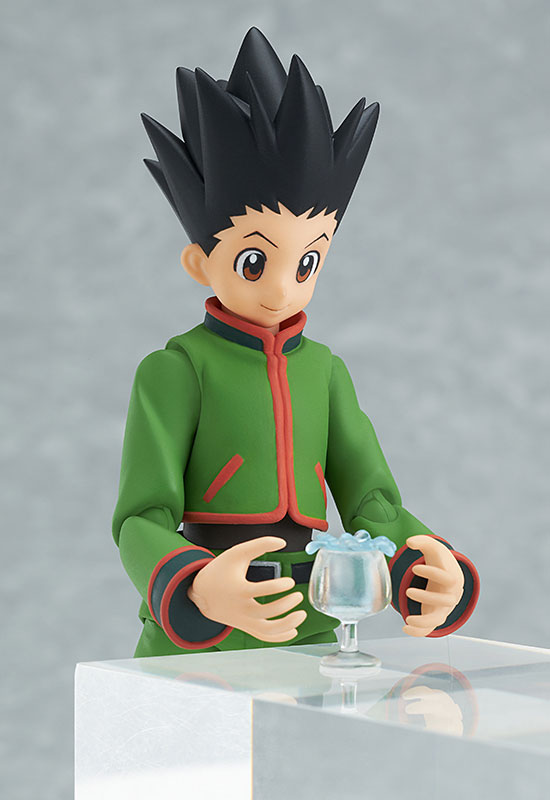 Also, don't extrude tris, extrude the quads, scale them down as you extrude, then on the tip merge verticies. |
|
|
|
Post by XxSuperShadicxX on Aug 20, 2013 8:20:12 GMT -5
I understand. I think I might go for that approach. Thanks for being such great help so far! I'd probably stuck at a few parts without your help, and the criticism helped, too.
|
|
|
|
Post by Amnimate on Aug 20, 2013 8:39:03 GMT -5
No problem! Glad I could help a tiny bit  |
|